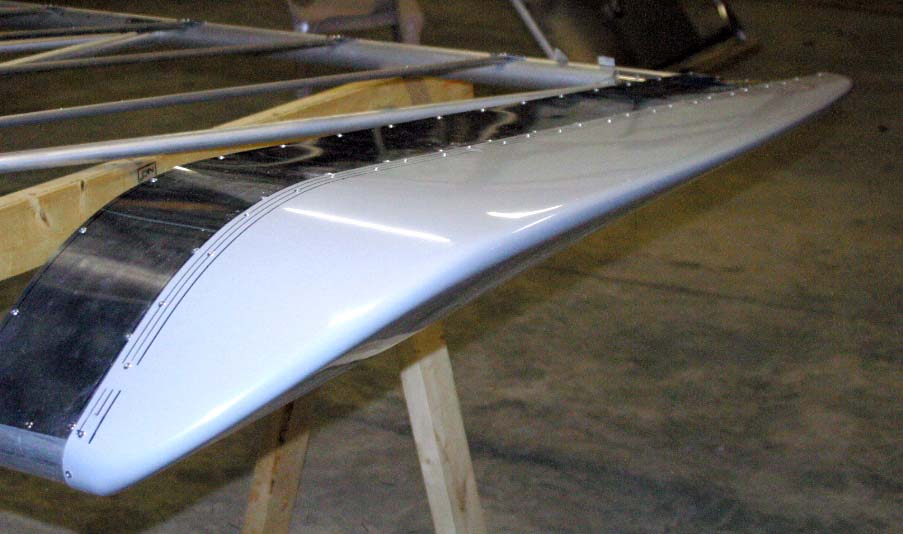
Preparing, Priming and Painting Fiberglass Parts
It is preferable to apply a two-part epoxy primer prior to painting your fiberglass parts. There are several epoxy primers that can be used with excellent results. If you fail to use a good epoxy primer before applying your finish color paint, the finish paint will probably not last very long, peeling off of the fiberglass long before you think it should. In some quarters, knowledgeable fiberglass fabricators also believe that some color coat painting systems tend to deteriorate and damage the underlying fiberglass materials. In this section, we hope to demonstrate the proper way to prepare your fiberglass parts for painting. Some of the fiberglass parts you may elect to add to your Challenger include the nosecone, Hoerner wing tips, wheel pants, and gap covers. Work needing to be done to the unfinished fiberglass parts may include cutting, triming, drilling, filling, filing, and sanding. The following list contains some of the items you will need:
|
Before you start painting your fiberglass parts, a certain amount of preparation is necessary. Parts must first be fitted to the airframe. This usually requires some trimming, drilling of mounting holes and, in the case of the nosecone, you must also cut out the hole for the front landing gear leg. Another area which requires work is the seam joining the two shell halves along the top center of the wheel pants. When the two halves are joined at the factory, the resulting seam leaves a 3/16" raised ridge along the joint. The best way to remove this ridge is with a rasp or Bastard file. You will want to bring this ridge down to the same level as the surounding surface. You may encounter (expose) air bubbles in the bonding area of the two halves. These can be filled with "Super Fil", a two-part epoxy aircraft filler. When the Super Fil epoxy has completely dried, sand it down with 320 grit sandpaper until filled areas are flush and smooth with the pant surface. Then continue to sand the entire joining seam to even out and remove any file marks. Finish off by "wet sanding" the entire pant outside surface with 400 grit Wet or Dry sandpaper. Prior to applying epoxy primer, clean the sanded surfaces with your chosen paint prep cleaner. |
Mixing a two-part epoxy paint will vary, depending on what brand you choose. Therefore, you will need to follow the manufacturers instructions for mixing the base and catylist. After mixing your paint and after thoroughly cleaning the fiberglass parts, you will apply to each fiberglass part three coats, using a cross pattern for each. Allow each coat to dry completely before applying the next coat. |
TIP: When painting the nose cone, remember, the inside of the cone will be "very dark" after installing it onto the airframe. When working inside the nose cone later, it would be helpful if it was not so dark in there. So, when you paint the nose cone, apply at least one coat of the white epoxy paint inside the nose cone as this will brighten up its insides later when you need to see what you are doing while installing anything in the nose cone. |