Former Plate Construction


Fabrication & Installation of the Former Plates

Click to Enlarge
         

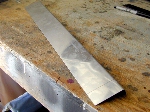
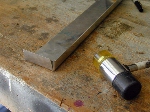
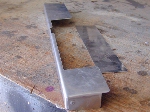
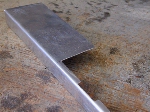
Select the bent aluminum Former plates to be installed around the Aileron control assembly on the top of the root tube. (Sides of former plates are pre bent at 3/4") The former plates are used for attaching the dacron fabric.

You will need to mark both ends of the former plates in about 1" in from ends, then notch from the end of the bend to your scribed line for folding the ends in.

         
Click to Enlarge


Click to Enlarge
         

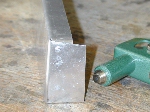
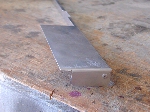
After you fold in the end flaps at both ends of the plate, you will need to drill and place one rivet in the bend corner as shown. Use a short aluminum rivet. Your former plate will now be 18" long.

         
Click to Enlarge


Click to Enlarge
         

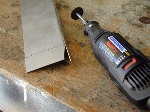
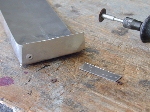
Now, use something like a dremel tool, jigsaw or hacksaw, remove the excess aluminum from the end flap to match the shorter inner flap.

You will now need to take a 3/8" notch out of both ends of the outer flap to allow the former plate to slide on top of the root tube to be riveted in place.

         
Click to Enlarge


Click to Enlarge
         

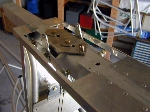
Measuring 7-1/2" from the front end of the former plate, you still need to remove a 2"x7.5" section out of the top of the former plate. (See Photo on Left) The factory instructions state to remove a 2"x9" section.

Measuring 8" from the front end of the former plate, notch 2"x3/16" to allow clearance for the aileron bellcrank and flaperon mechanism movement. (See Photo on Right

         
Click to Enlarge

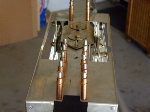
At the rear of the former plates, our builder has removed a 1"x1" section for the rear arm of the aileron control to clear and was done to allow for greater strength to the former plates. This would not be necessary if you followed the factory measurement of a 2"x9" section removal. (See the photo third down from here.)
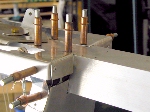
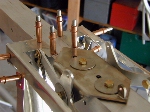
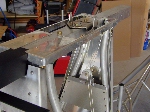
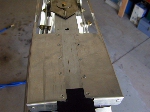
Once the fabrication of the former plated is finished, you are ready to mount the former plates on the root tube. We prefer to clamp the plates in place, mark, drill and place clecos in before permanently riveting the plates onto the root tube. This allows you to check and make sure all is aligned properly before riveting.

         
Click to Enlarge


Click to Enlarge
         

Our builder decided to add additional strength to the former plates by mounting 1"x3" brace straps to the rear of the former plates.

         
Click to Enlarge


Click to Enlarge
         

Before and after riveting the former plates, check movement of the aileron control levers for adequate clearance of the control levers. If any of the levers touch the former plates, you will have to remove additional metal to allow proper clearance.

         
Click to Enlarge


Now that the former plates are completely installed, we will go on to the next web page.

         
Click to Enlarge


Please return to the Featured Build Menu by clicking on your browser's "BACK BUTTON".