High Side Rail Fabrication


The "High Side Rail" is a feature which comes standard with the Clipped Wing Special version of the Challenger and is also an "OPTION" which "can" be requested on the Challenger II Long Wing at time of order. The Side Rail option is rather simple to construct as there are few materials involved, but should be done "PRIOR" to fitting the fiberglass nosecone if this is an option you will be adding to your Challenger.


Positioning High Side Rail & Rib's

Click to Enlarge
         

NOTE: As you will need to fabricate the Challenger doors to fit later, the High Side Rail height is adjustable to whatever height you would like.

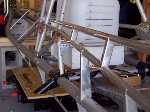
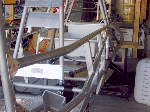
Our builder opted to raise the high side rail by about 1" in this build. To do this, he just moved the side rail ribs "back" from their normal positioning. In the factory build, the side rail ribs are located "just" to the rear of the lower longeron to rail ribs. The rear of the high side rail would normally be setting just above and touching the lower side rail tubing.

         
Click to Enlarge


Click to Enlarge
         

As usual, cleco's have been inserted to check the fit of the rail placement prior to permanently riveting them into place.

         
Click to Enlarge


Rear Side Rail Joint - New Fitting From Factory

Click to Enlarge
         

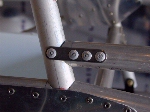
The factory has now added a "new" straight attachment fitting for the rear side rail joint.

         
Click to Enlarge

Finishing

Click to Enlarge
         

Once you are sure of your rail fit, you are ready to permanently rivet the high side rail to the fuselage frame.

WOW! that was easy! Lets now go onto fitting the Fiberglass Nosecone!

         
Click to Enlarge


Please return to the Featured Build Menu by clicking on your browser's "BACK BUTTON".