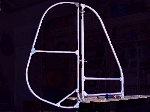
Tail Section Hinge Fitting


We will now work on measuring, scribing, fitting and drilling of your tail section rudder & elevator hinges.


Ernie will be installing three (3) hinges per rudder and each elevator side instead of the factory two (2) hinge method. Many builders have opted for this modification over the two hinge method. However, be very certain to place the center hinge in dead center alignment of the two outside hinges or you will find your rudder or elevator will bind when in use.
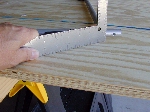

Scribing For The Rudder Hinges.

Click to Enlarge
         

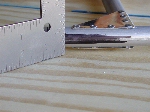
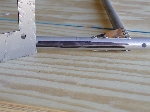
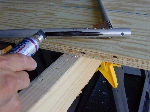
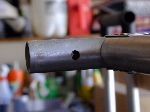
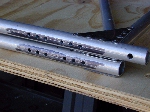
Using a Scripto black marker pen, blacken the area's on the Al tubes where you will need to scribe a center line to align your hinges on.

         
Click to Enlarge


Click to Enlarge
         
Click to Enlarge
         
Click to Enlarge

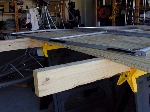
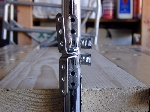
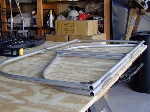
To place a scribe mark in the blackened surface, just lay your tail section fin on a flat surface, place a square up to the frame and gently draw or pull your square along the blackened tube surface. This will place a center line scribe mark on the tube for mounting your rudder hinges. Note the line should be centered with the bottom hinge bracket hole.
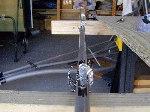

Hinge Alignment & Center Punching

Click to Enlarge
         

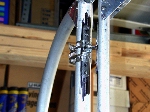
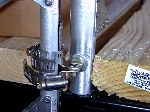
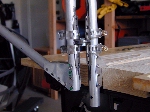
Once this is done, align and mount your rudder hinges using standard hose clamps on both the main rudder fin and rudder itself.


Click to Enlarge
         

Adjustments may be necessary to match up both male & female rudder hinge sides. This is simply done by loosening the hose clamps, allowing the rudder hinge to slide into place. Tighten clamp and temporarily connect both sides of the hinge together.

         
Click to Enlarge


Click to Enlarge
         

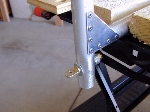
Now, locate the bottom hinge hole on the main rudder fin and mount the male hinge fitting using several washers on the outside of the bracket.

These extra washers will not be used in the final assembly of this hinge.

         
Click to Enlarge


Click to Enlarge
         

Then mount the female side of the bottom hinge, aligning hinge halves as above and clamp in place.

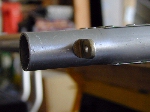
Using the hinge holes, you are now ready to center punch each hinge rivet hole for accurate rivet hole drilling.

         
Click to Enlarge


Drilling The Hinge Rivet Holes.

Click to Enlarge
         

It is also just as easy or easier to leave the hinges in place, using the hinge holes as a drill bit guide for drilling.

Once all your hinge rivet holes have been drilled and checked for accurate drilling, remove the clamps & hinges from the rudder tubing.

         
Click to Enlarge


Click to Enlarge
         

This would be a good time to use a remover like rubbing alcohol to remove the black marker ink from the tubes.

         
Click to Enlarge


Click to Enlarge
         

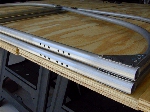
This is what your rudder assembly should look like when all of your hinges have been aligned for drilling.


Repeat Steps Above For Elevators.

Click to Enlarge
         

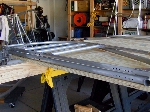
Using the same method for the elevator hinges as used for the rudder, locate the main elevator mounting hole at the inner end of the main elevator fin, using it for your center scribe line location.

         
Click to Enlarge


NOTE: "DO NOT" permanently rivet your hinges to the rudder or elevator fins. This will be done "AFTER" you have covered and painted your rudder and elevator fins.

We move on to the next section of the wing construction process, "Fitting The Ailerons." The ailerons will be attached to the spars at the trailing edges of the wings.

Please return to the Featured Build Menu by clicking on your browser's "BACK BUTTON".