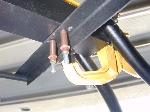
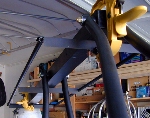
The top door frame assembly is rather simple and straight forward as you will see below. The top door frame will come with your kit and will need to be installed "PRIOR" to installing the flaperon assembly if you plan to locate the flaperon crank assembly in an alternate location.
Additionally, you will need to install this assembly BEFORE installing the fiberglass gap seal, shoulder harnesses and/or large windshield, if you have those options as well.
IMPORTANT: The front seat belt forward shoulder harness measurement is not correct on the harness installation sheet. If you install the front seat shoulder harness before the top door frame is installed, you will then need to remove it and redrill for this harness as it will be installed directly under the middle cross brace location of the top door frame.
If you will be installing the door, fiberglass gap seal or large windshield option to your Challenger
NOTE: There is a single "aluminum" rivet holding one end of the side tubes. This was placed there by the factory just to hold the frame sturdy during shipping and indicates this end is the front of the top door assembly. Drill this aluminum rivet out, carefully spread the tube from the brace enough to get it to pass around the front seat down tubes, then rivet the front brace to the tube with two short stainless steel rivets.
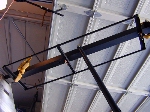 Click to Enlarge |
Clamp the frame to the root tube with the front brace being 2-3/4" from the front end of the root tube. |
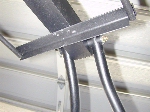 Click to Enlarge |
 Click to Enlarge |
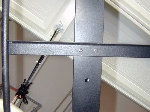
You will now want to mark and drill for three (3) or four (4), 1/8" long stainless steel rivets, staggering them in each of the three cross braces. |
 Click to Enlarge |
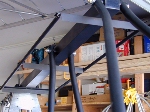
Well, thats all there is to assembling the Top Door frame Assembly. Easy! |
 Click to Enlarge |
Please return to the Featured Build Menu by clicking on your browser's "BACK BUTTON".
